
ContactMonkey’s SharePoint integration enhances your omnichannel internal comms strategy by publishing emails right into your intranet!
You asked, and we listened! ContactMonkey now offers enhanced connectivity with Microsoft SharePoint. As of today, you’ll be able to publish emails to configured SharePoint pages.
How You’ll Benefit From ContactMonkey’s SharePoint Integration
Prior to our SharePoint integration, you may have had a fragmented internal communications strategy and been forced to manage your intranet and internal communications channels separately. With our SharePoint integration, you can now automatically connect your intranet and internal communications channels and strategies.
With our all-new SharePoint integration, you’ll be able to:
- Publish ContactMonkey email campaigns to specified SharePoint pages
- Archive ContactMonkey email campaigns within SharePoint sites
- Gain access to additional “social channel” analytics (unique opens, Total Opens, etc.) via ContactMonkey’s dashboard metrics straight into Sharepoint
How To Set Up And Use ContactMonkey’s SharePoint Integration
1. First, your SharePoint Administrator must approve and install the ContactMonkey SharePoint app from the SharePoint store. Once installed, the ContactMonkey SharePoint app will be available to add across Sharepoint pages.


2. Next, add the ContactMonkey SharePoint app to each individual SharePoint page (within a SharePoint site). To do this, follow these steps:

2.1 Within your SharePoint site, click the plus icon to add in the ContactMonkey app to a new SharePoint web part.

2.2 Search ContactMonkey in the search bar, and click on the ContactMonkey logo to add the ContactMonkey app to this specific SharePoint web part.

2.3 The next steps take place within your ContactMonkey account, per the instructions listed below. Once you have generated your API key in ContactMonkey, head back into SharePoint, and click on the “pen” icon to edit the SharePoint web part and paste the API key that you generated from ContactMonkey.

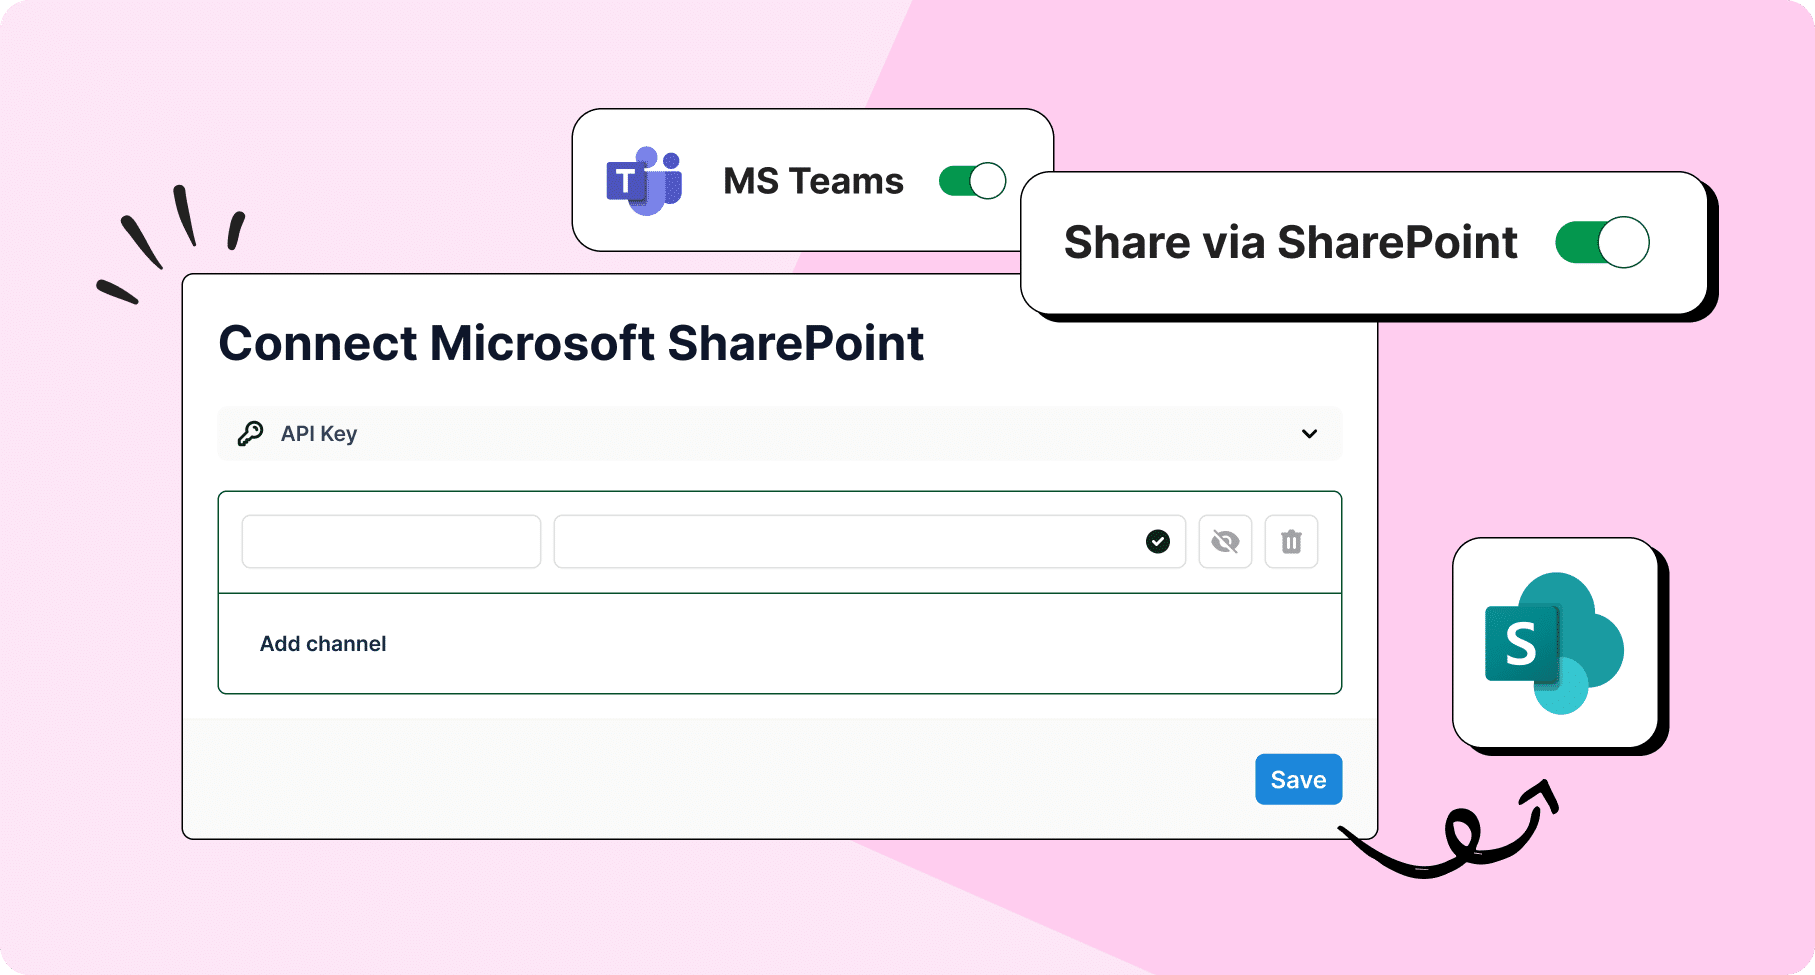
3. Go to your ContactMonkey account and click Settings > Integrations. Then, scroll down to the Channels section and sign into SharePoint if you’re not already signed in.

4. Next, click on the Connect button.

5. In the new window that pops up, click on the drop-down arrow next to API key, and click Generate. Then, copy and paste the unique API key into your SharePoint page within your specified SharePoint site.


6. Back on your SharePoint page where you added the ContactMonkey SharePoint app, click on the pen icon (to edit this SharePoint web part) and paste the API Key from the previous step under where it says ContactMonkey API Key.

7. Back in ContactMonkey, on the window where you generated the API key, enter a channel name and page URL (the page URL is the page on which you installed the ContactMonkey SharePoint app and pasted the API key from the previous step) to push ContactMonkey emails to this specific SharePoint page. Click Save.

If you’ve followed along with all of the above steps, you will now be able to push ContactMonkey emails to SharePoint pages that you’ve configured with the ContactMonkey SharePoint app!
Have any questions or running into an issue? If you use ContactMonkey’s Outlook plugin or send emails directly from the ContactMonkey dashboard, your SharePoint integration may differ. For more information consult our Help Center article.
Ready To Get Started?
Our new SharePoint integration is available to all new and existing ContactMonkey customers. Speak with us today about setting up your SharePoint integration today, or joining ContactMonkey.
Have feedback? Please submit your feedback directly in ContactMonkey.


 1")


